WebCenterSites 12c – create a site with the new MVC
WebCenter Sites 12c has been just released and introduced a lot of new features. The most important, and longly awaited feature is a Model View Controller architecture for developing websites. It includes also full support for groovy scripts to implement controllers.
In this post I am going to show how to use MVC for creating a very simple website. Of course, I assume here you already downloaded and installed WebCenter Sites in your environment. I recommend you download and install WebCenter Sites following the excellent tutorial here.
Configure a site in Sites
First step is configure a new site in Sites. Once you installed Sites, we can log in to create a new site.
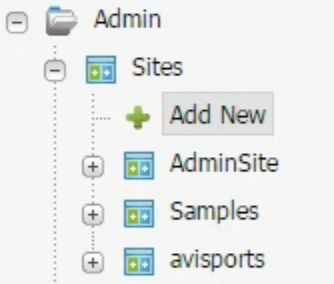
You need to access the admin, select the Sites node and then click on “Add New”. Specify then the name you prefer.
We need now to enable some assets to work with. For defining the content model, we need to enable Pages, with PageAttributes and PageDefinitions. For code we need to enable Templates, CSElements and SiteEntries. But the most important for our goals is the new asset type WCS_Controller.
Don’t forget to enable start menus for all those assets, since without them we will unable to create our assets.
Another important step in site creation is enabling appropriate roles for an existing user, in order to be able to access the newly created site.
- The role AdvancedUser allows to access the advanced interface, where we can create our content model.
- The role GeneralAdmin allows to access to the Administration node from the new site. It is not necessary but usually useful.
- Last but not least, the role SitesUser allow to access the contributor interface, where the content editors can create content.
Create the content model
Now, we need to define the content model. In particular we create subtypes for existing types. In this example we will see how to create subtypes for pages only.
We need first to decide which attributes we want to use for each subtype we are going to create . In this example we will only create a home page with a title and a body.
To begin with, we need then to create some PageAttributes. The first attribute is Title.
Creating a Title attribute is a matter only of creating an asset of type PageAttribute and declare is type to be a string.
Slightly more complicated is the creation of the attribute for the body.
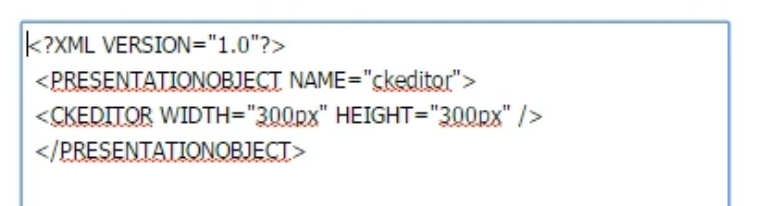
Since we will want to use a fully featured WYSIWYG , we need first to create an attibute editor. It will enable to use the rich text editor distributed with Sites.
An attribute editor is defined by an XML file described in documentation like this.
Once the attribute editor is created we can create a PageAttribute of type text and select the attribute editor.
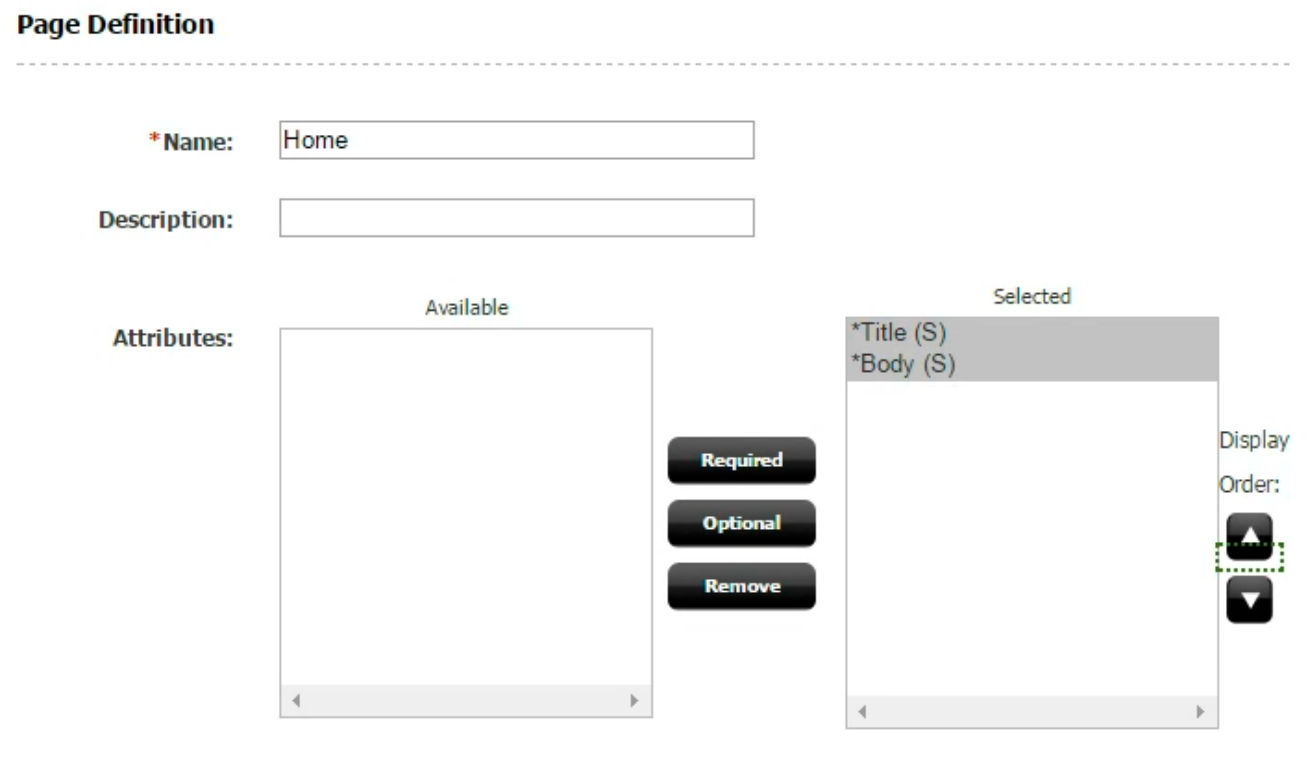
Finally, we need to put the attributes together, creating a PageDefinition for pages.
Create then a new asset of type PageDefinition, and select which attributes it uses. In our case, the asset form will show our attributes.
Let’s select both as required attributes.
Rendering the Content Model
Now, we have the content model, but we need to say how we want to transform the content in actual html pages, or “render” the content.
WebCenter Sites used to follow a view-model only, but finally with the current release, rendering is implemented with a model-view-controller pattern. This means the rendering is a 2 step process.
The first step is performed by the controller, which extracts the content and pass it to the view.
The second step is performed by the view, which actually displays the content.
Writing the Controller
Let’s see now how to write the controller. We need to create an asset of type controller. So let’s click on “New Controller” and give it a name of “HomeController”.
In the form Sites displays a skeleton of code. We can leave the skeleton as is, adding our code where there is a placeholder.

Let’s discuss now how to write the controller code.
The controller main purpose is extracting the content from the database and storing is a form easy to be rendered. In our case it is a Map. So everything starts putting objects in the models map provided.
The content is extracted from the database using an asset reader. Controllers provide the method to create them, so we start invoking newAssetReader().
The asset reader must read a single asset, and the id of the asset we are rendering is available with the getAssetId() method, so we can tell to the asset reader which asset we want it reads with the forAsset() method.
Finally, we state we want to selectAll() the attributes of the asset, then read() them. The result is a object we can place in the map to be passed to the view.
Writing the view
Now let’s examine how the view code is written. It leverages JSP, using embedded expressions, making easy to display the content. As a result the code extraction is extremely simple.
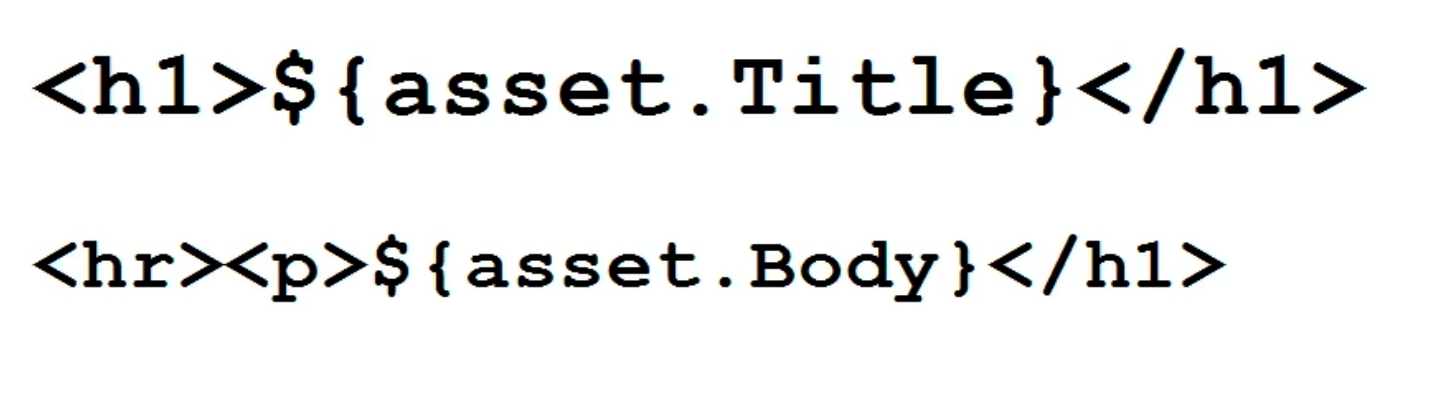
We show then a very simple example, omitting all the styling and focusing only on the HTML.
- First we will write the title as an h1 heading and we extract the Title attribute.
- Second, we do the same but placing the body in a p tag, separated by an “hr”. And that is all.
Now we can create a template. There are a few things to note.
- We give name HomeView, following an obvious convention.
- We need to choose the associated controller, the one we already created (HomeController).
- The controller must be used only for assets of type Page.
- We will use declare the template should be used as a Layout for rendering pages.
- We generate a JSP for the template code.
- Finally we put the code we already discusses in the body of the JSP
Getting the final result
We are now ready to see the final results. We can now create a new web page, provide the content and get it rendered.
First we need to switch to the contributor interface, the only interface usually seen by the content editors. The interface for creating content model is made accessible only to developers.
We have now a New Page menu item, allowing to create pages. When we create a new Page, Sites will assign the page definition we created, since it is the only one available.
As a result, the system will ask for the two attributes: Title and Body.
We give HomePage as a name for the new page , and we select the template we defined as its layout.
We fill the two fields Title and Body we created. Note the Body has a WYSIWYG editor enabled.
Once the page is saved, just switch to the web view to see the results of all our efforts. The page is rendered, invoking the view which in turn invokes the controller for retrieving the content.